Patio and hardscaping installation: what to expect, step by step
By Diego Fischer · Updated 2026-07-17
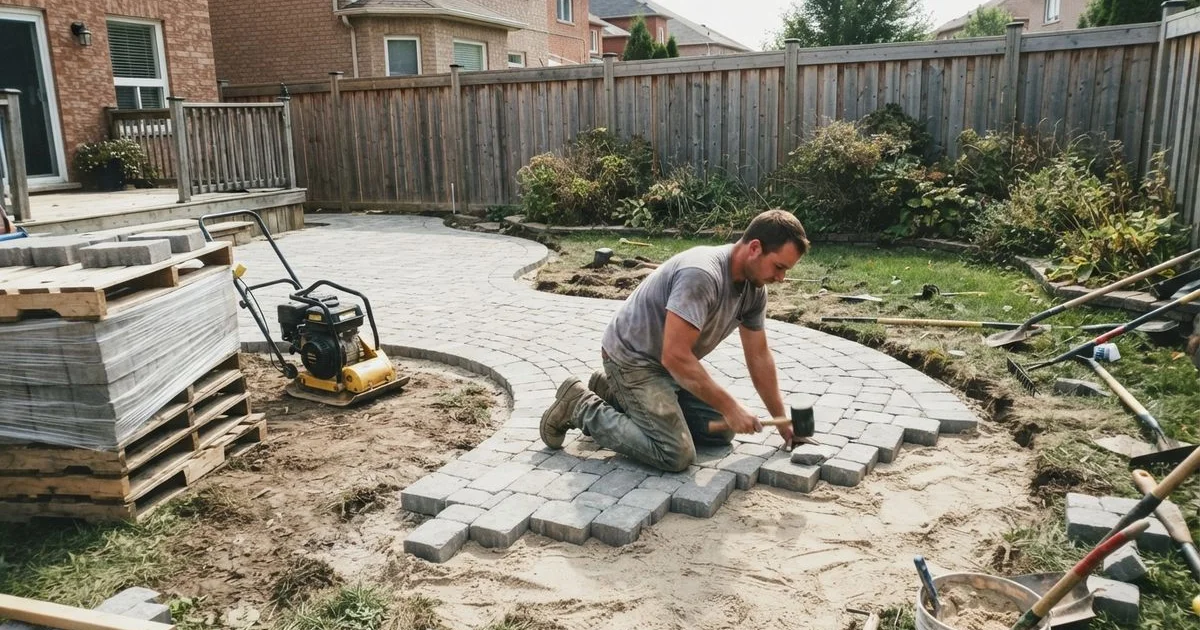
Hardscaping projects, patios, walkways, driveways and retaining walls, are some of the biggest investments homeowners make in their yard, and also some of the easiest to get wrong if the contractor cuts corners on the parts you can’t see once the pavers go down. Here’s what a properly done installation looks like.
Step 1: Layout and excavation
The crew marks out the exact area, then excavates to the correct depth for your project, typically deeper for a driveway that needs to handle vehicle weight than for a garden walkway. This is also when any drainage issues on the site get addressed, since water management done wrong here causes problems for years afterward.
Excavated soil needs somewhere to go, and disposal is worth clarifying upfront: some contractors haul it away as part of the quote, others expect you to arrange disposal or grading elsewhere on the property, and the difference can affect both the price and the timeline.
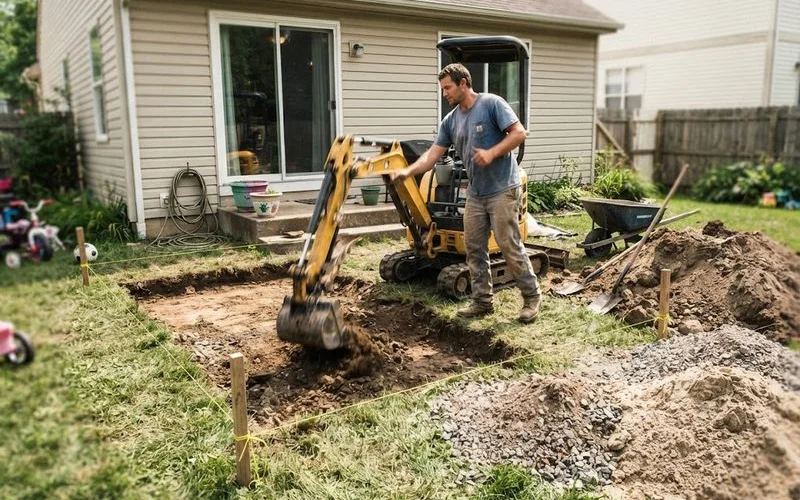
Step 2: Base preparation
A compacted gravel base, built up in layers and compacted at each stage, is what actually holds a patio or walkway in place through Ontario’s freeze-thaw cycles. This is the step that’s invisible once the project is done and the step most likely to be shortcut by a contractor trying to save time. Ask your contractor to explain their base depth and compaction process before work starts, not after.
Base depth needs to be deeper for anything that carries vehicle weight, like a driveway, than for a garden walkway that only sees foot traffic. Soil type on your specific property also affects how much base is needed; heavier clay soils that hold water and shift more with freeze-thaw generally call for a deeper, better-drained base than sandy, well-draining soil.
Step 3: Setting the pavers or material
Pavers, natural stone, or poured material go down over a sand or setting bed, laid to the design pattern, with attention to consistent joints and proper slope so water sheds away from your house rather than pooling.
| Phase | What happens | Why it matters |
|---|---|---|
| Excavation | Remove soil to design depth | Sets the foundation for everything above |
| Base prep | Compact gravel in layers | Prevents shifting and sinking over time |
| Setting material | Lay pavers or stone on a setting bed | Determines the finished look and slope |
| Jointing and sealing | Fill joints, compact, optional sealant | Locks pavers in place, reduces weed growth |
Step 4: Jointing, compaction and finishing
Polymeric sand or another jointing material fills the gaps between pavers and gets compacted in, which locks everything together and helps prevent weeds and ants from working their way up through the joints. Some contractors offer a sealant as a final step, which is optional but can deepen colour and ease future cleaning.
Expect a short curing period before the surface handles heavy foot traffic or furniture without disturbing the joints, and longer still before a vehicle drives on a new driveway. Your contractor should tell you the specific window for your project rather than leaving you to guess.
Retaining walls: a step up in complexity
A retaining wall holding back any meaningful amount of soil needs proper drainage behind it (usually gravel and a drainage pipe) and, above a certain height, may need engineering review or a permit in your municipality. A wall that looks fine going in but wasn’t built with drainage behind it is a common cause of bulging or failure a few years later.
What to watch for during the project
Ask to see the base depth before pavers go down, since it’s much easier to raise a concern at that stage than after everything is finished. Reviewers in this niche consistently praise crews who explain their process and keep a tidy site, and flag contractors who rush the invisible steps to move to the next job. A contractor confident in their work should be glad to walk you through what’s happening at each stage.
Hardscaping usually shows up as one phase within a bigger landscape design and installation project rather than standing alone, so it helps to see how the two connect.
To compare hardscaping and interlocking contractors in your area on workmanship and communication, see the hardscaping and interlocking category, scored using our published methodology. The Ontario landscaper directory covers every other project type too.
FAQ
- Why does base preparation matter so much for a patio?
- A patio is only as stable as what's underneath it. Skipping proper excavation and a compacted gravel base is the single biggest cause of pavers shifting, sinking, or heaving within a few years, especially through Ontario's freeze-thaw winters.
- How long does a typical patio installation take?
- A small to mid-size patio usually takes several days to a week once work starts, depending on size, whether old material needs removing first, and weather. Larger projects with retaining walls take longer.
- Do I need a permit for a patio or retaining wall?
- Often not for a simple ground-level patio, but retaining walls above a certain height frequently require a permit or engineering review in many Ontario municipalities. Ask your contractor to confirm before work starts.
- What causes pavers to shift or sink over time?
- Inadequate base depth, poor compaction, or water pooling underneath rather than draining away are the most common causes. This is why the prep stage matters more than the paver style you choose.